Do you ever feel like buying Hawaiian shirts can be a bit pricey? Not only that, they’re not exactly personalized either! So, why not try making your own DIY Hawaiian shirt? It’ll be super cool and totally unique to you! Don’t worry, the process isn’t as tricky as it sounds—especially if you follow the super detailed step-by-step guide in this blog!
What You’ll Need for DIY Hawaiian Shirt
Before beginning, make sure you have all the essential supplies at hand. You’ll need:
- Hawaiian print cotton fabric
- Coordinating thread
- Buttons
- A sewing machine
- Pins
- Sharp scissors
- And ideally, a serger.
2 Notes For Choosing a Pattern
The goal for how to make a Hawaiian shirt is to find a pattern that suits your style and body. If you’ve ever wondered, “are hawaiian shirts tacky?”, the right pattern and fit can make all the difference.
- Popular choices include Mood’s Carya shirt, McCall’s 2149, or Simplicity CS9157. Once you’ve selected a pattern, take some time to study it carefully.
- You should look at the collar size, sleeve length, and pocket placement. If something feels off—maybe the collar seems too large or the pocket feels awkwardly placed—make adjustments.
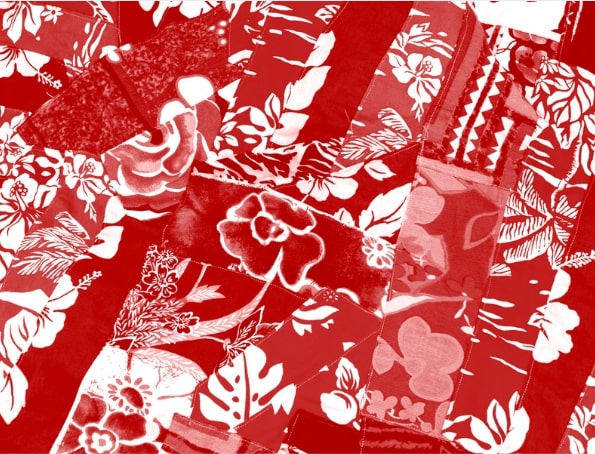
Select a pattern that complements your style and comfort
13 Quick Steps To Make Your Own DIY Hawaiian Shirt!
Step 1: All Cut and Interfaced
The objective of the first step of how to make a Hawaiian shirt cut-off is precision.
- Start by pre-washing your fabric to prevent shrinkage after the shirt is complete.
- Once the fabric is dry and neatly ironed the Hawaiian shirt fabric, lay out all your pattern pieces: front, back, sleeves, yoke, collar, and pocket.
- Carefully cut each piece, following the pattern guidelines.
- Apply interfacing to the collar and any other pieces requiring additional structure.
- This step also sets the foundation for a well-fitted shirt.
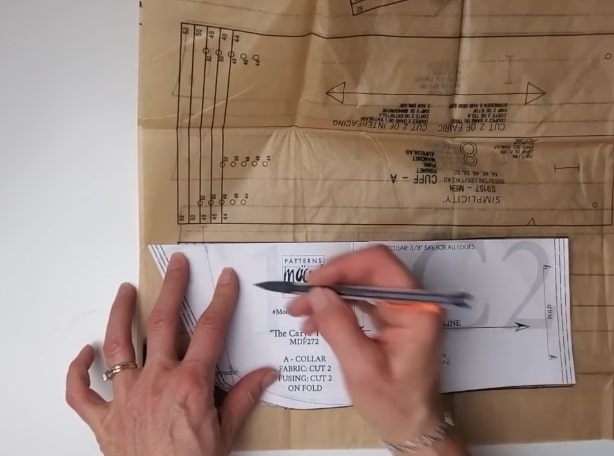
Adhering to the pattern’s instructions.
Step 2: Don’t Forget Notches
When cutting your fabric, make sure to snip these notches carefully. These tiny details will save time and reduce frustration later in the assembly process. They ensure each part of your shirt fits together correctly.
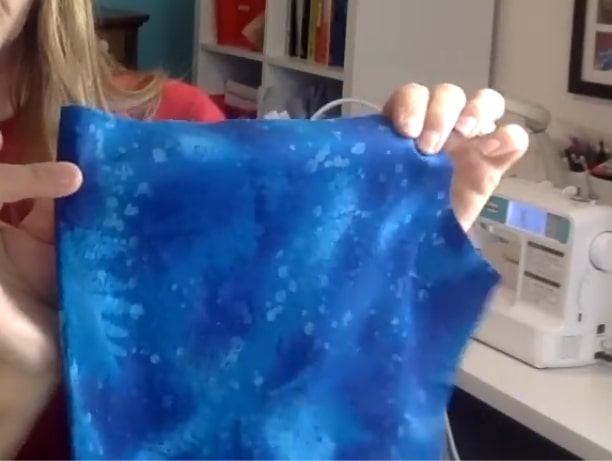
Be sure to carefully cut these notches while cutting your fabric.
Step 3: Start at the Serger
- If you have a serger, use it to finish the raw edges of your fabric pieces. This helps prevent fraying and gives your shirt a professional-quality appearance.
- If you don’t have a serger, a zigzag stitch on your sewing machine can also do the trick. Taking care of raw edges early ensures a tidy final product.
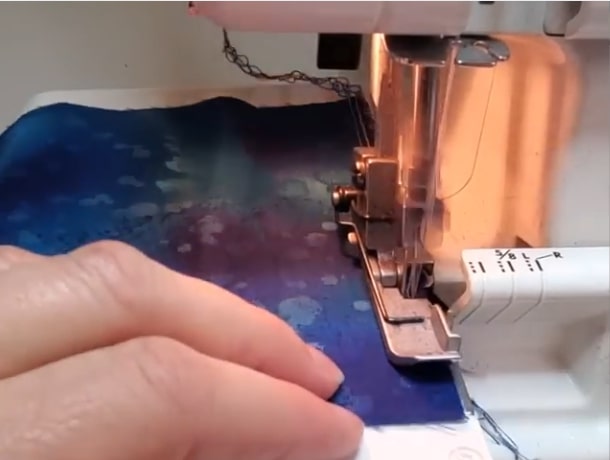
If you have a serger, use it to finish the raw edges
Step 4: The Pocket
The pocket serves both form and function.
- Begin by folding the edges of your pocket piece and pressing them to create a clean finish.
- Once pressed, sew along the folds to secure them.
- Pin the pocket onto the left front panel, ensuring it’s positioned evenly.
- Once you’re satisfied with the placement, edge-stitch the pocket securely in place. Attention to detail here will give the pocket a polished look.
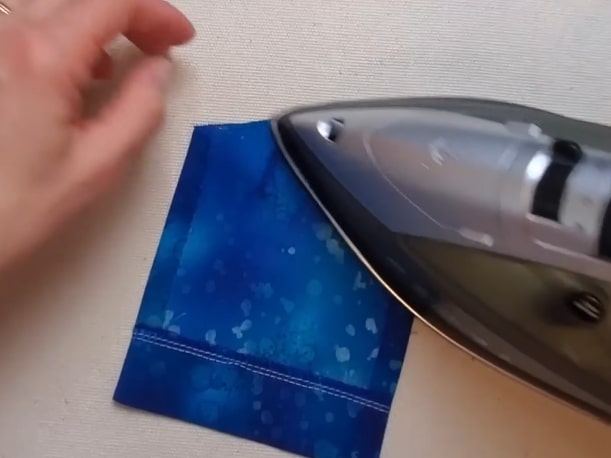
A tidy finish is achieved by pressing the pocket.
Step 5: The Collar
The collar frames the shirt, so precision here is important.
- Sew the collar pieces together, pivoting carefully at the corners.
- After sewing, trim away excess fabric at the corners to reduce bulk.
- Turn the collar right-side out and press it flat.
- You might also want to add topstitching for a crisp, professional touch. This process sets the tone for the shirt’s overall finish.
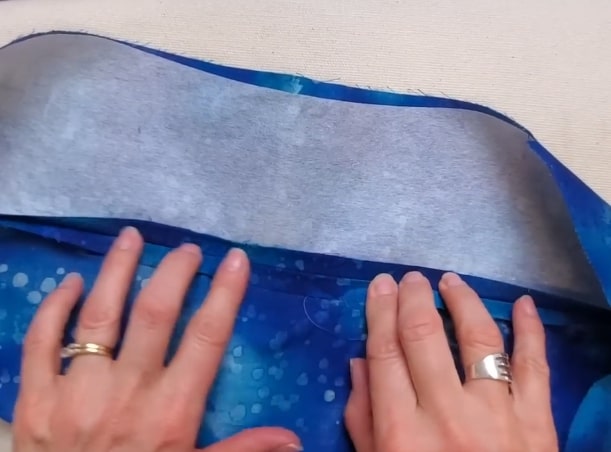
To cut down on bulk, trim extra fabric around the corners.
Step 6: Sewing Yoke to Front
The yoke stabilizes the upper part of your shirt.
- Pin the yoke to the shoulder seams of the front pieces, ensuring the neckline edges align properly.
- Sew along the pinned edges with even stitches.
- Once sewn, press the seams towards the yoke. A clean finish here ensures the shirt sits comfortably across the shoulders.
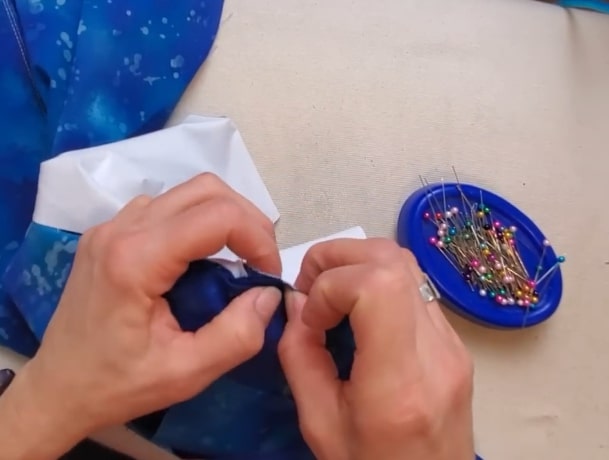
Attach the yoke with pins to the front parts’ shoulder seams.
Step 7: Sewing Yoke to Back
The back of the shirt often includes a design element like an inverted box pleat.
- Start by forming the pleat according to the pattern instructions.
- Then, align the back piece with the yoke, matching up the notches.
- Pin it securely before sewing.
- Once stitched, press the seam for a smooth finish. This step gives structure and style to the shirt’s back.
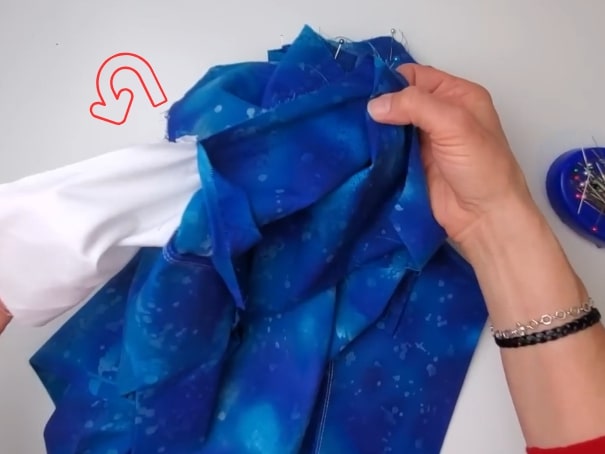
Match the notches on the rear piece and the yoke.
Step 8: Sleeves
Attaching the sleeves is all about alignment and patience.
- Match the notches on the sleeves with the corresponding marks on the armholes.
- Pin the sleeves in place, easing any extra fullness as needed.
- Sew the sleeves carefully, ensuring smooth seams without puckering.
- Well-set sleeves contribute significantly to both comfort and appearance.
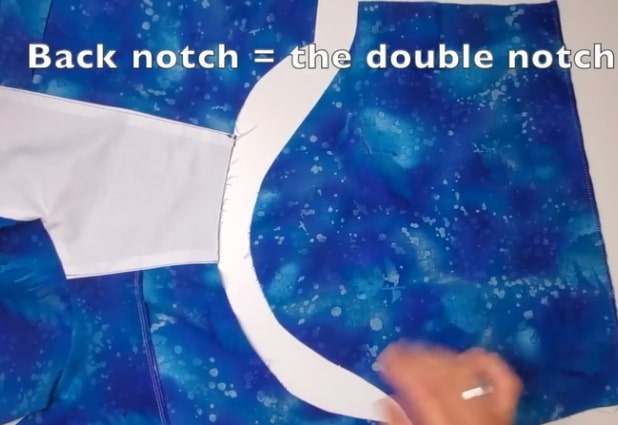
Align the sleeves’ notches with the appropriate markings.
Step 9: Side Seams
This step brings the shirt together.
- With the sleeves now attached, align the side seams from the edge of the sleeves down to the hem.
- Pin carefully and sew along the seam line in one continuous stitch.
- Once finished, press the seams open or towards the back for a neat and polished result.
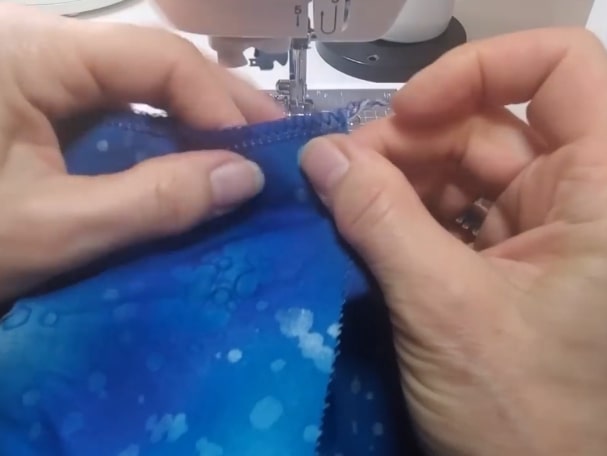
From the sleeve’s edge to the hem, align the side seams.
Step 10: Hems
Hems provide the final edge finishing.
- Start by finishing the raw edge using a serger or a zigzag stitch.
- Fold the hem up to the desired width and press it in place.
- Stitch close to the folded edge to secure the hem neatly.
- Repeat the same process for the sleeve hems.
- Proper hemming ensures the shirt hangs well and looks professional.
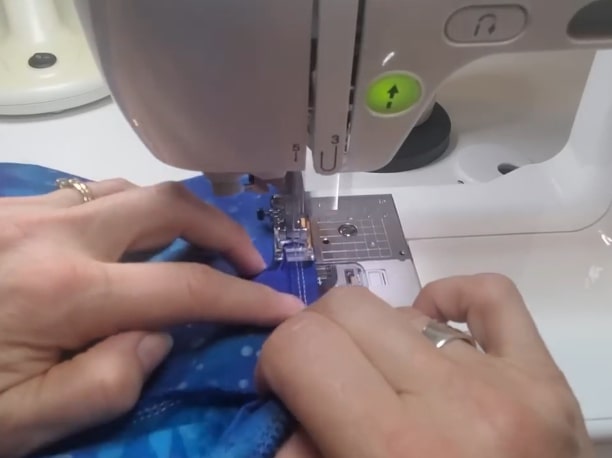
To begin, use a serger or zigzag stitch to finish the raw edge.
Step 11: Topstitch
Topstitching adds both durability and aesthetic appeal.
- Sew along the collar, pocket edges, and hems with a straight, even stitch. This reinforces the seams while also creating a polished, finished look.
Take your time with this step—it’s one of those subtle details that can elevate the overall design.
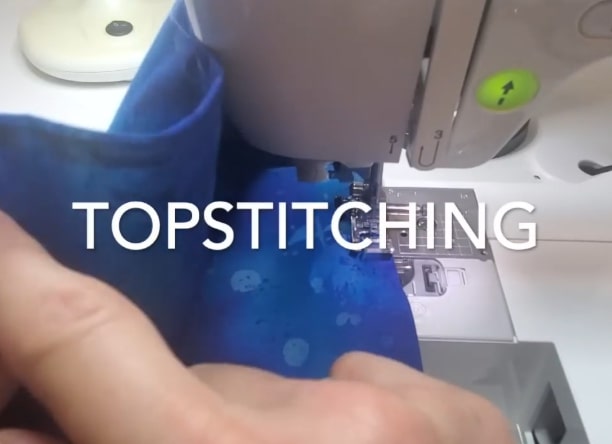
Use a straight, even stitch along the hems, pocket edges, and collar.
Step 12: Buttonholes
- Mark the placement of your buttonholes on the front packet. Typically, five buttonholes work well for a standard shirt.
- Sew each buttonhole carefully, ensuring they are evenly spaced.
- Once complete, attach the buttons, making sure they align perfectly with the buttonholes.
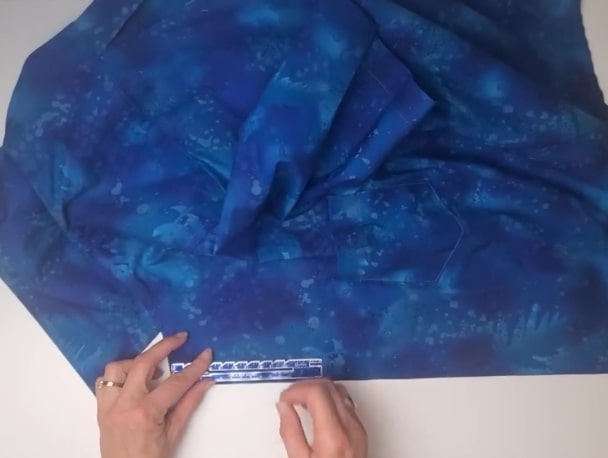
Make sure the buttonholes are appropriately spaced by carefully sewing each one.
Step 13: Finished shirt!
The final step is about refinement. Give your shirt a thorough pressing, paying attention to every seam and edge. A well-pressed shirt looks sharp and professional. With every detail in place, your Hawaiian shirt is now complete.
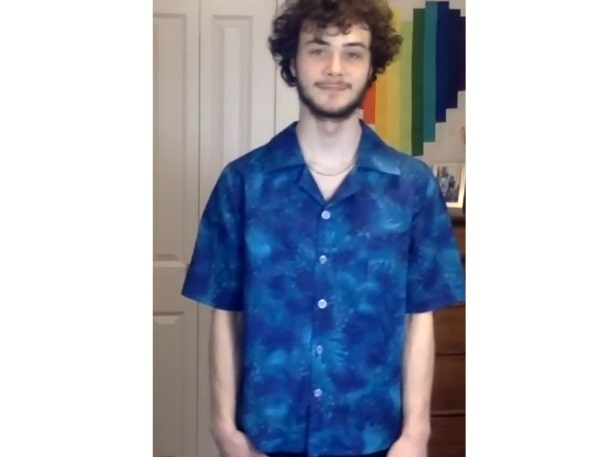
Press your shirt carefully, focusing on all the edges and seams.
5+ Style Ideas For Making DIY Hawaiian Shirt
1. Classic Tropical Paradise
The simplicity of true ‘Hawaiian’ style comes to life on your DIY Hawaiian shirt. These stylish patterns are not only perfect for summer festivals and Aloha Day but are also popular in women’s aloha shirts, bringing a relaxed and captivating look

Classic Tropical Paradise are perfect for summer festivals
>> Read more: Are hawaiian shirts in style?
2. Floral Explosion
Oversized floral patterns that are delicate yet striking can provide a unique touch to your ensemble. Select sophisticated pastel colors to draw attention to these endearing patterns.
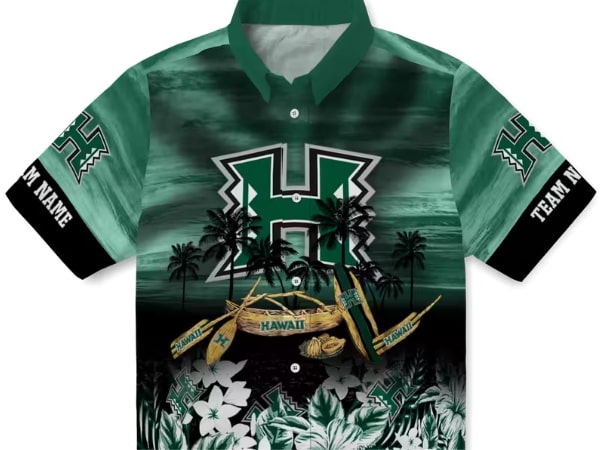
To highlight these charming designs, choose elegant pastel hues
3. Hawaiian Wildlife
A “wild” choice for those who embrace freedom and adventure. Choose animal motifs like tropical birds (e.g., toucans and parrots), geckos, and sea turtles for a truly dynamic design.
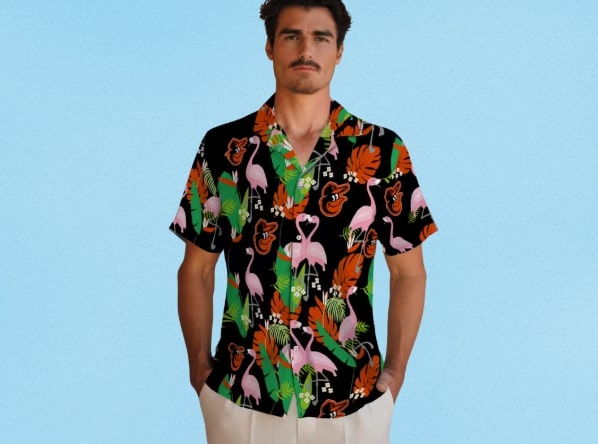
Hawaiian Wildlife is for people who value independence
4. Sunset on the Beach
This chill design style perfectly depicts relaxing beach vibes. Instead of bright colors, go for retro, darker tones to create a more striking and memorable look.
This is also a type of shirt that many people love and search for to buy, and it’s easy to see why—why do guys wear hawaiian shirts? Because they offer a perfect blend of comfort and effortless style! And if you’re one of them, be sure to check out Tapa Aloha Shirt to find the best Sunset on the Beach designs!
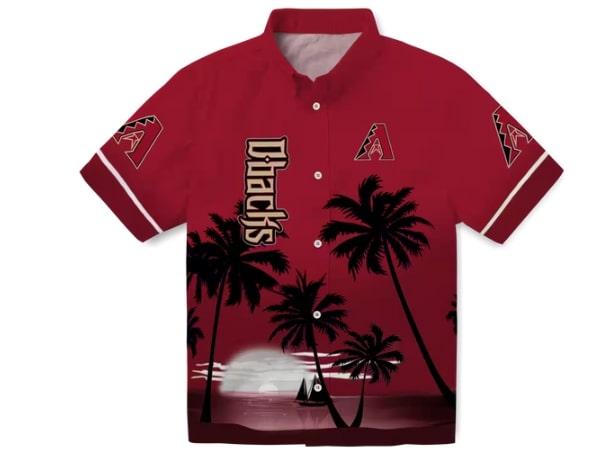
This chill design style perfectly depicts relaxing beach vibes.
5. Retro Aloha Vibes
The resurgence of Retro Aloha Vibes has made the aloha shirt vs Hawaiian shirt a popular 90s trend comeback, as they are essentially the same type of shirt. To achieve a timeless yet elegant style, consider old surfboards, woodie wagons, aloha phrases, and swaying palm trees.
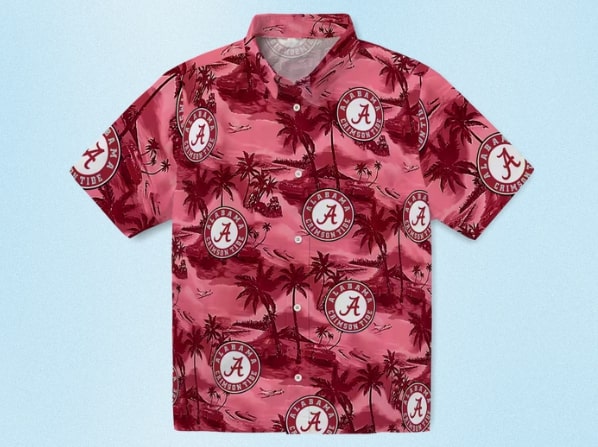
A dash of vintage appeal is added with Retro Aloha Vibes
6. Ocean & Underwater Adventure
Ocean & Underwater Adventure is the simplest option if you want a design that is both safe and distinctly Hawaiian! Explore patterns influenced by the vivid colors of the ocean and marine life.
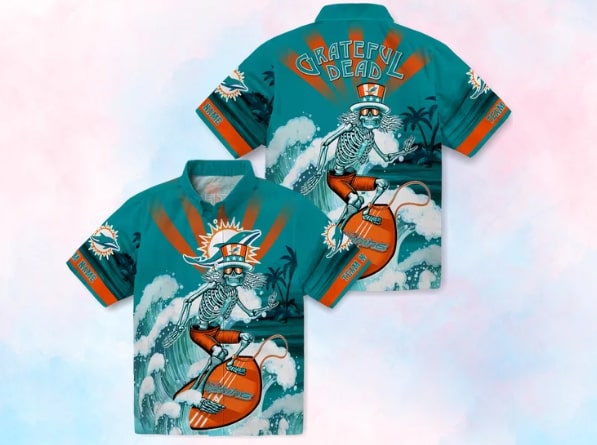
The most straightforward choice is Ocean & Underwater Adventure
FAQS
1. How Long Does It Take To Make A Hawaiian Shirt?
For an experienced sewer, it might take about 3–5 hours to complete. Beginners might need a full day or two, especially if they’re following a pattern for the first time.
2. Can I Make One Without A Sewing Machine?
Yes, you can make a Hawaiian shirt without a sewing machine, but it will take significantly longer.
3. Is It Cheaper To Make Or Buy A Hawaiian Shirt?
The cost depends on the quality of fabric and materials you choose. On average:
- Making one: $20–$50 (depending on fabric quality).
- Buying one: $15–$100 (depending on brand and quality).
Isn’t it so easy to make your own DIY Hawaiian shirt after reading this guide? You can wear your DIY Hawaiian shirt on breezy summer days or while enjoying yourself at a sunny beach, complete with your personal touch. For an even more unique style, consider exploring personalized hawaiian shirts that truly reflect your personality.
But if the final result isn’t quite what you hoped for and you’re feeling discouraged… why not check out Tapa Aloha Shirt? We offer a wide range of impressive, high-quality Hawaiian shirts just for you!

After a successful career as a renowned fashion designer, Ashley Isham took a surprising turn in 2024 by launching Tapa Aloha Shirt. This venture into casual wear marked a departure from his previous work, but Isham saw it as an opportunity to connect with a wider audience and elevate the Hawaiian shirt to a fashion staple. The TapaAlohaShirt website, filled with informative content, reflects Isham’s ambition to redefine the Hawaiian shirt and make it a must-have piece in today’s fashion landscape.


